Easy Salt Dough Ornaments | kid-friendly!
Created November 15, 2020 | Revised November 2025

Salt dough ornaments are one of the simplest and sweetest Christmas crafts to make with kids — and easily one of the most nostalgic. If you grew up in the 80s or 90s, you probably remember pressing your little hands into dough at school, stamping shapes with cookie cutters, or painting chunky stars that your parents hung on the tree for years.
Now as a mom, bringing back this simple tradition is one of my favorite ways to slow down during the season. Salt dough is cheap, easy to mix up, naturally kid-friendly, and gives you hours of hands-on fun. And the best part? These ornaments last for years. Your kids will light up when they see their homemade creations come out each December.
In this post, I’ll walk you through my step-by-step method, a few tips I’ve learned after making these with my boys, and some easy variations using dried oranges, wooden beads, and natural string for that cozy, old-fashioned Christmas look.
Why We Love Salt Dough for Crafts
Budget-friendly — flour, salt, and water… that’s it.
Hands-on + tactile — great for little hands and sensory play.
Simple enough for preschoolers, fun enough for big kids.
Customizable — paint them, leave them natural, add beads, dried oranges, twine, stamps, glitter, or cinnamon.
Memory-making — Even though these are used for Christmas, you can use the recipe any time of year to create fun keepsakes for different holidays!

Supplies Needed
Mixing bowl
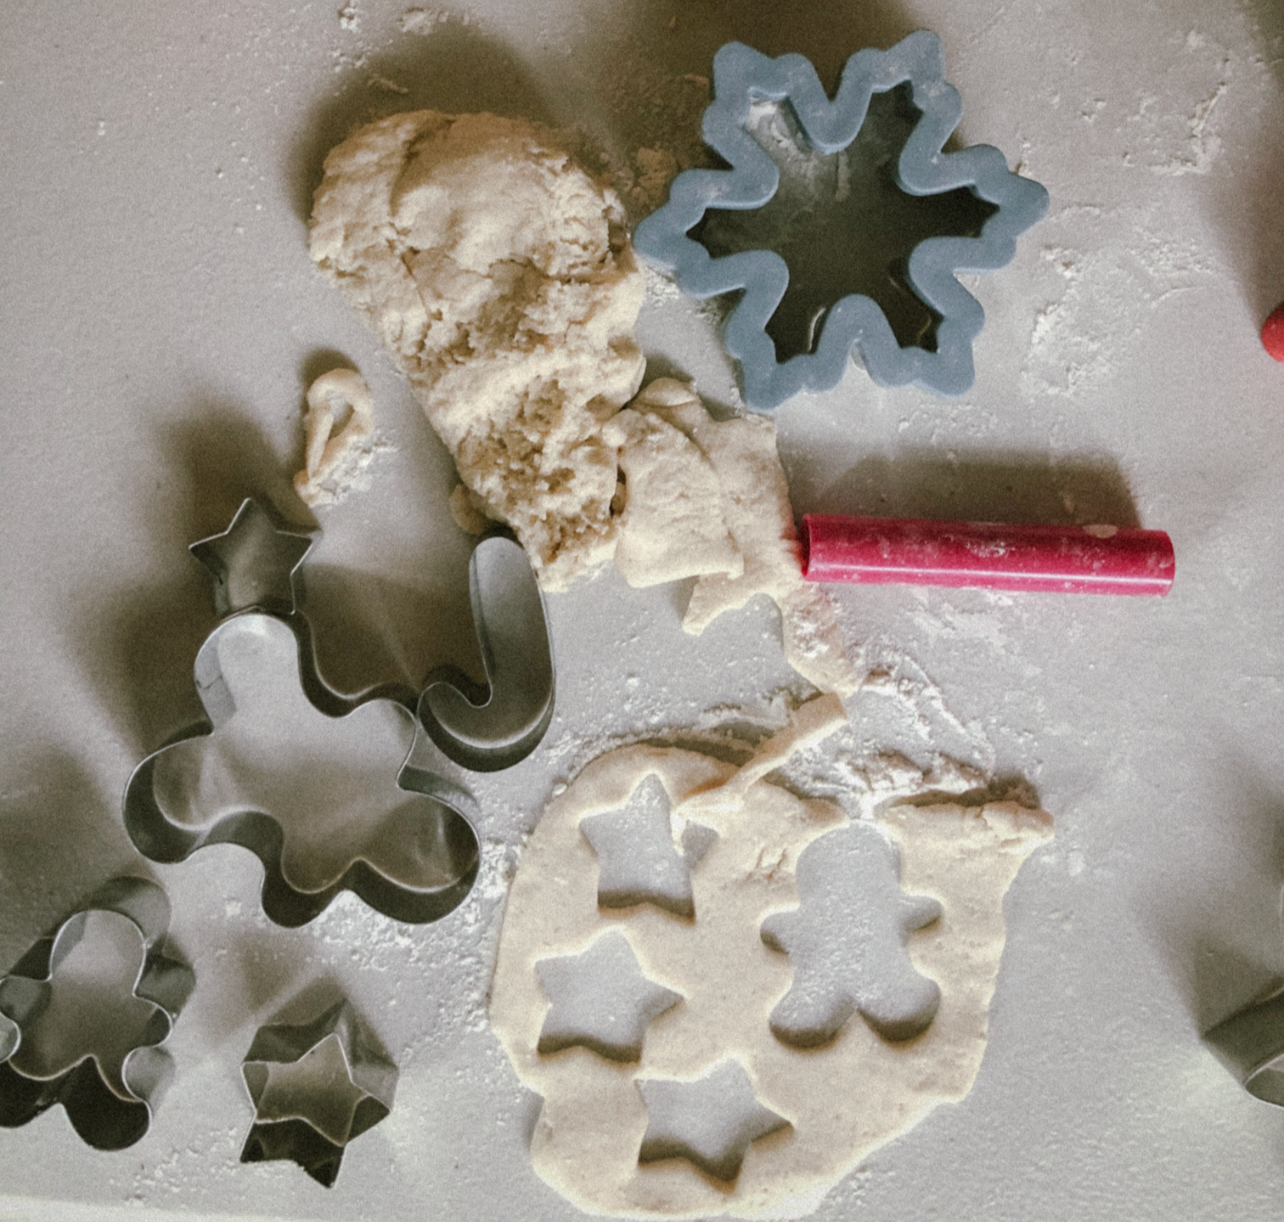
Holiday cookie cutters (stars, gingerbread, trees, etc.)
Straw or skewer for making holes
Twine or ribbon for hanging
Baking sheet + parchment paper

Salt Dough Ornament Recipe
Yields: ~12–20 ornaments (depending on cutter size)
Prep Time: 10 - 20 minutes
Bake Time: 2–3 hours
Total Time: 2.5–3.5 hours (plus cooling time)
Ingredients
2 cups all-purpose flour
1 cup salt
1 cup warm water (a little more if needed)
How to Make Salt Dough Ornaments
1. Combine flour and salt in a large bowl. Slowly add warm water, mixing until a dough forms. If it’s too sticky, add a bit more flour. If it’s too dry, add a splash more water.
2. Turn the dough onto the counter/table and let your kids knead it until smooth. This part is always their favorite — very play-dough-like but actually useful!
3. Dust your surface with a bit of flour and roll the dough to about 1/4 inch thick. Thinner dough = smoother ornaments, thicker dough = chunkier, more rustic ones.

4. Use your favorite cookie cutters to press out your favorite holiday shapes!
5. Use a straw, skewer, or the end of a chopstick to poke a small hole at the top of each ornament. This is important for threading the twine later.
6. Place ornaments on a parchment-lined baking sheet.
Bake at 200°F (90°C) for 2–3 hours, flipping halfway through.
Note: You can also let them air dry for 24–48 hours if you prefer.
7. Let the ornaments cool fully before painting or decorating.

Don’t Forget to Grab Your Festive Freebie!
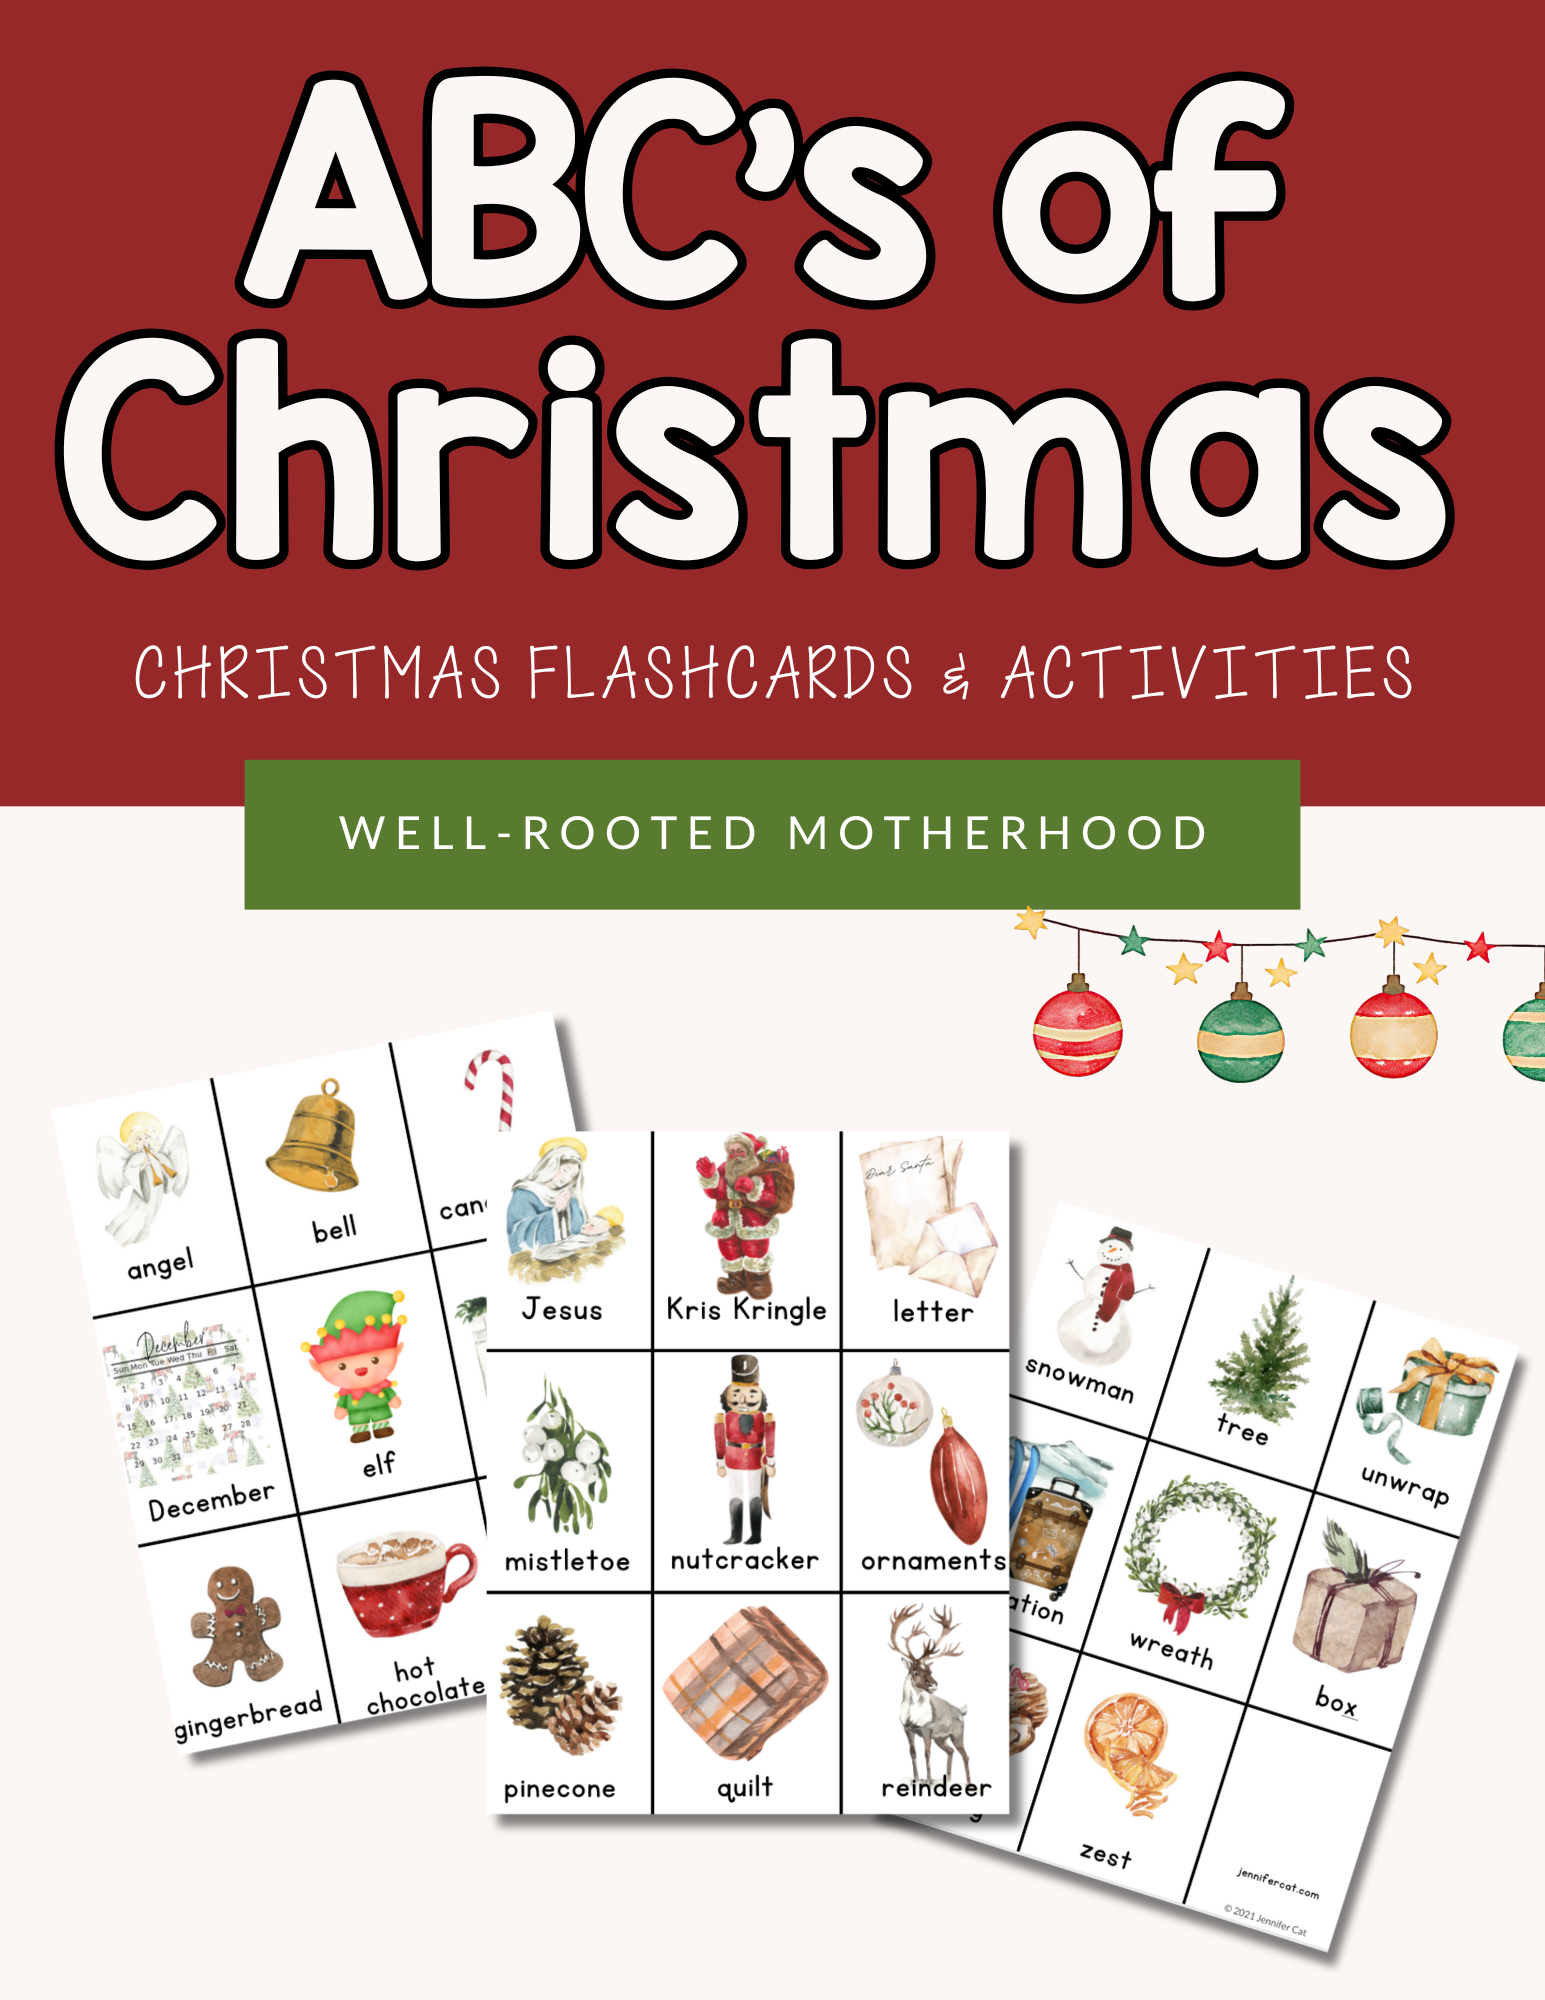
ABC’s of Christmas Activity Packet
Includes A-Z Christmas mini flashcards, word tracing and coloring sheets & more!
You Might Also Like…
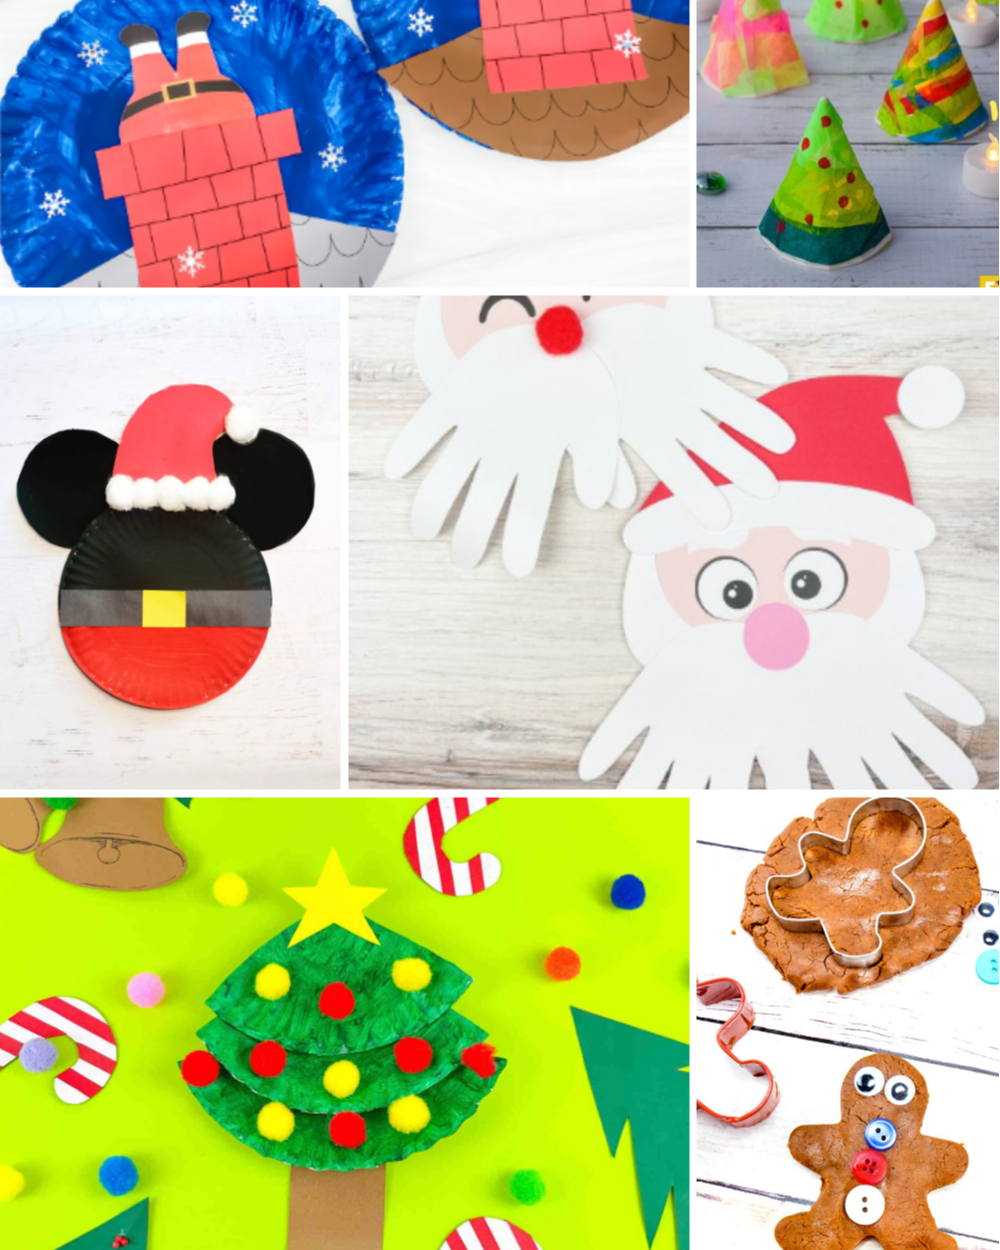
More Easy Christmas Crafts for Kids
Looking for even more festive ideas? Explore my roundup of 15+ simple, budget-friendly Christmas crafts for kids—perfect for cozy December afternoons and family fun.

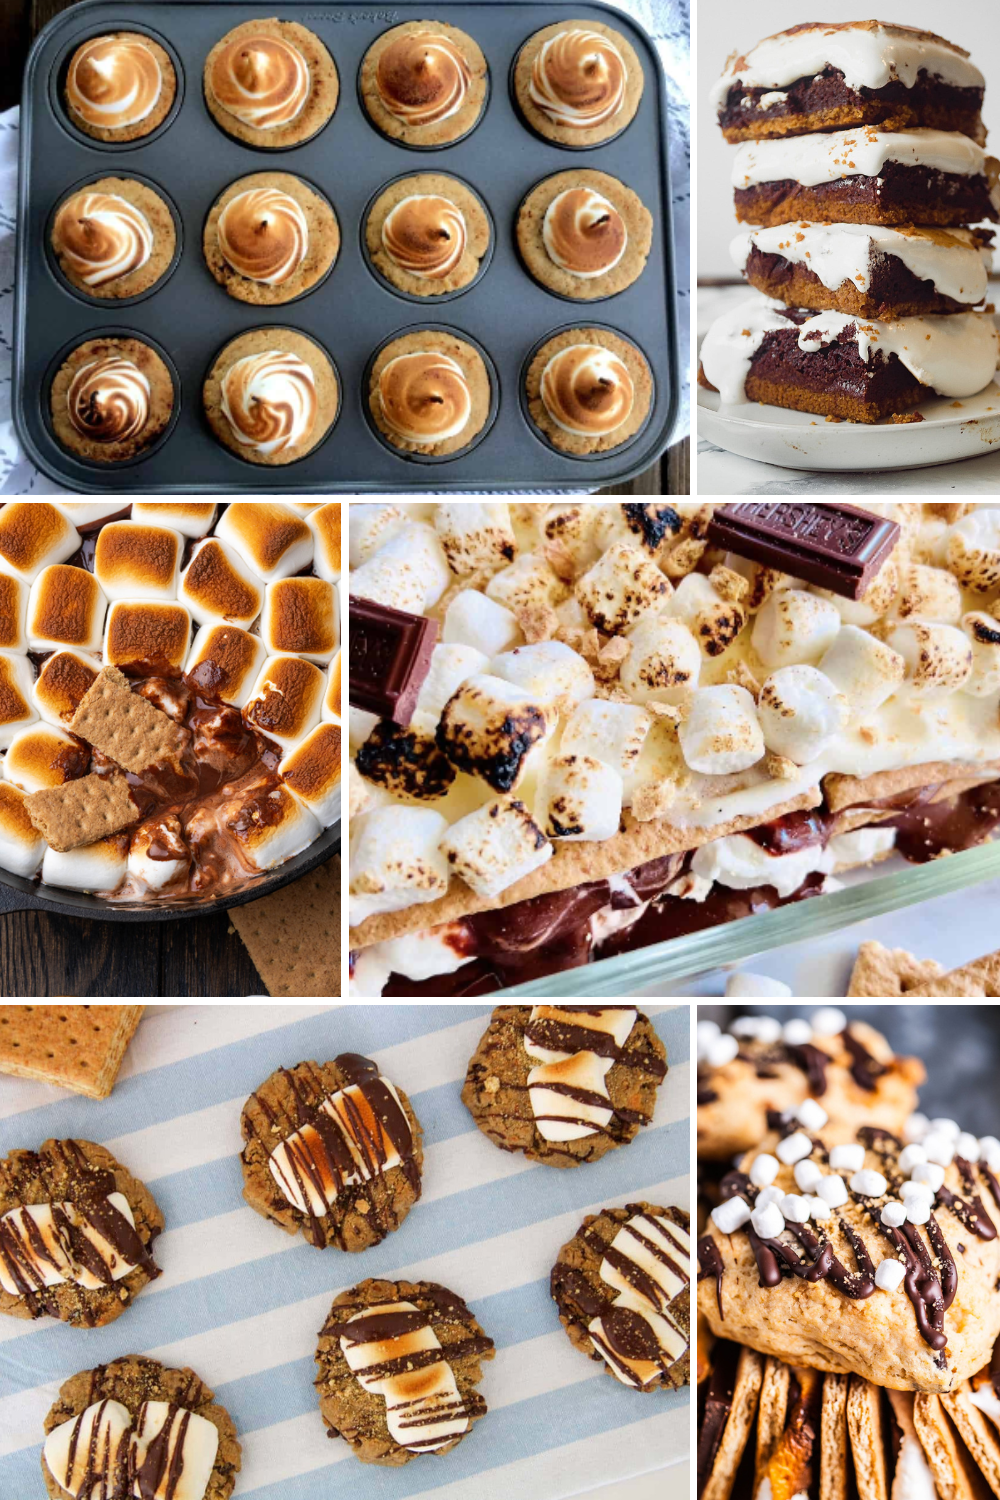
~ Favorite Things ~
Explore more on the Blog
Recipes


christmas


